I'm playing Space Station Zero wargame with an aim to get through the entire station, and I've decided to post battle reports about each Challenge along the way. These battle report contain minor spoilers, although there are a lot of branches in the campaign so what happens in my campaign is unlikely to also happen exactly the same in your campaign. This is the second battle report, covering Challenge 3 (there were two doors in the first room, one leading to Challenge 2 and the other to Challenge 3).
Crew member profile
Before getting into the action, I think it might be nice to profile a crew member with each battle report so you know whose exploits you're following.
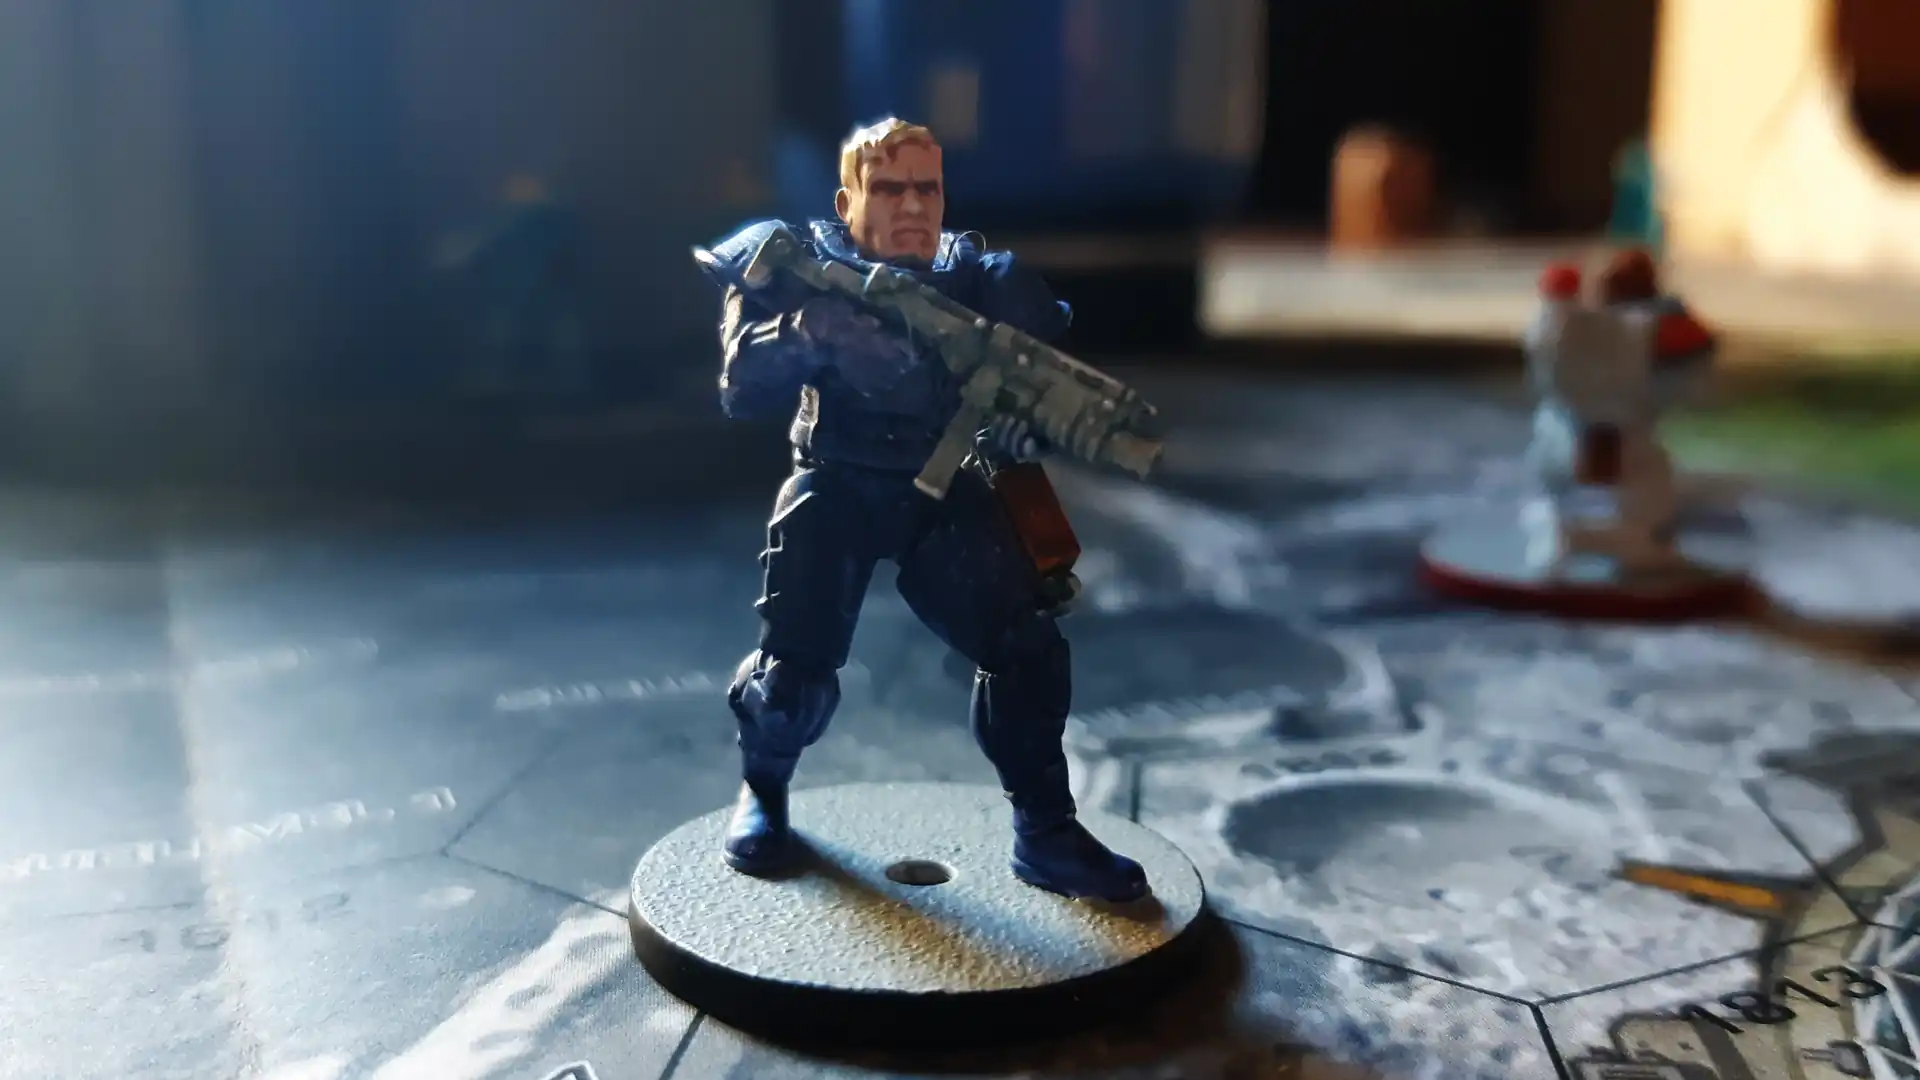
Meet the Warmaster, Captain Arecibo of the warship Conquest. From the wartorn world of Cranon, the captain and his crew arrived at Space Station Zero after a hyperspace jump gone wrong. Not understanding how they arrived at the station, he and his crew assumed they'd been willfully abducted. Unaware of the danger the space station posed, he permitted Princess Nektariin and her royal bodyguards to enter the station to find and negotiate with the person responsible.
From the population of the hangar bays, Warmaster Arecibo soon learnt of the station's reputation, and true to the warnings the Princess never returned. With nothing to lose, Warmaster Arecibo gathered his crew and ventured into the depths of the station to rescue the Princess.
Stats
- Life 4
- Move 4
- Combat 3
- Reflex 4
- Intelligence 3
- Armour 4 (8 against Ranged Kinetic weapons)
Repair Bay
This room contains a Fission Reactor that is, as of round 2, on the brink of collapse. You don't realise the Reactor is about to melt down until you read the boxed text at the start of Round 2, so my initial strategy doesn't match the eventual threat. The obvious immediate threat are the 4 Starving Mutants hanging out in the room, each with sharp teeth and wicked claws for melee weapons.
Because the Warmaster wants to rescue the Princess, I figure the primary goal in each room is to eliminate the immediate threats, and then search the area for the Princess herself or for clues as to where she might be.
Round 1
The Warmaster and the Veteran lead the charge because I figure you just don't get a title like "warmaster" without loving combat. The Warmaster is armed with a rocket launcher that adds 3 dice to his 3 dice Combat (Co) roll, so he takes a shot at the Mutants. He can re-roll a failed Co dice because the Veteran is within 1 inch, so he successfully removes a mutant from the battlefield. A very strong first turn!
The mutants charge toward the Warmaster and Veteran, but can't quite close the distance enough to get in an attack this round. The Veteran shoots, as well, and deals damage to one of the Mutants.
The rest of the crew rushes into the room and takes ranged shots at the mutants. Damage is dealt, but no further kills.
Round 2
The Fission Reactor is about to blow! It needs to be repaired by somebody with high Intelligence. The Warmaster has the highest Intelligence score, but he's not very close to the Reactor. Second best candidate is the Medic, with an Intelligence of 3. She reaches the Reactor, but then I realise that the test is literally impossible for my crew.
The book calls for an Intelligence 5 (8+) Challenge Test, and maybe some crews somewhere have stats of 5 but the highest stat any of my models have is 4. You can't get 5 successes with 4 dice, so either the Reactor explodes and vaporizes Space Station Zero or I need to make an adjustment. I'm not sure how you're supposed to have a crew member with an Intelligence stat of 5 for the second challenge of the game, so I assume it's a mistake. Instead of a standard Challenge Test, I decided to convert it to an Extended Challenge Test, in which your successes accumulate over a number of turns. New rule: my Medic must roll 5 successes by the end of Round 4, or the Reactor explodes.
[Editor's note, from the future: I've since re-read the rule on Challenge Tests, and actually this is exactly what the authors intend. When it's not possible for you to make a Challenge Test with a single roll, you are meant to treat it as an Extended Challenge.]
The Medic manages to roll 1 success (this is a tough test, defining a success as any even number 8 or above). She also rolls well on initiative, and I get to activate another crew member.
I felt weird about having the Warmaster take a shot with a rocket launcher from just 3 inches away (to say nothing of the Reactor about to go into meltdown). Instead, I had the Veteran move forward to meet the Mutant threat and make a melee attack. He was able to remove a Mutant from the battlefield. Unfortunately for the Veteran, he didn't roll well to maintain initiative, so he's on his own for the first Mutant attack.
The first of the two Mutants attacks the Veteran, dealing 1 point of damage. It rolls well on iniative, though, so the second Mutant also attacks the Veteran, dealing another point of damage.
The Veteran has just one life point left, until I remember that he has a special rule that reduces damage dealt to him by 1. I'm not sure whether that's -1 to damage dealt during a ronud or from each enemy, so I just reduce the damage by 1, rasing his life points up to 2.
Round 3
The Medic rolls again to fix the Reactor, and scores just 1 Success for a total of 2 so far. It's not looking good! Worse still, she fails to maintain initiative, so the Mutants activate next.
The first Mutant attacks the Veteran, dealing 1 damage that's instantly negated by the Veteran's Hard to Kill special rule. The Mutant also fails to maintain initiative, so activation passes back to me.
The Veteran lashes out with his melee energy weapon and slays a Mutant. He maintains initiative, and my sniper kills the final Mutant.
Nothing to do now but avoid Nuclear meltdown!
Round 4
This is it. This is literally the final round, by hook or by crook. Either the Medic rolls really really well in a game where pretty much every other roll has been a failure, or the Reactor explodes and ends my crew, the station, and my game.
With all the tabletop gamer superstition I can muster, I select the very luckiest of dice based on a carefully improvised theory of metaphysics. The colour of die multiplied by the time a dice last succeeded divided by the number of its most recent failure. Carry the 1. And roll.
I don't know how she did it, because as she'll tell you herself, she's a doctor not a nuclear reactor technician, but the Medic rolls 3 successes. Add that to her 2 existing successes, and she's averted meltdown, and she didn't even have to go through the whole "the needs of the many outweigh the needs of the few, or the one" speech to do it.
Excitement
This was an exciting game, if ever a one there was. The tensions obviously didn't suffer from changing the Challenge Test to an Extended Challenge Test. Truly a satisfying gaming experience.
Everybody gains XP, some free wargear is found (but I already own it, so I guess we'll trade it back at the hangar bays), and the crew proceeds to the Challenge 4: Fabrication Bay.
Photo by Seth Kenlon, Creative Commons cc0.